 Save
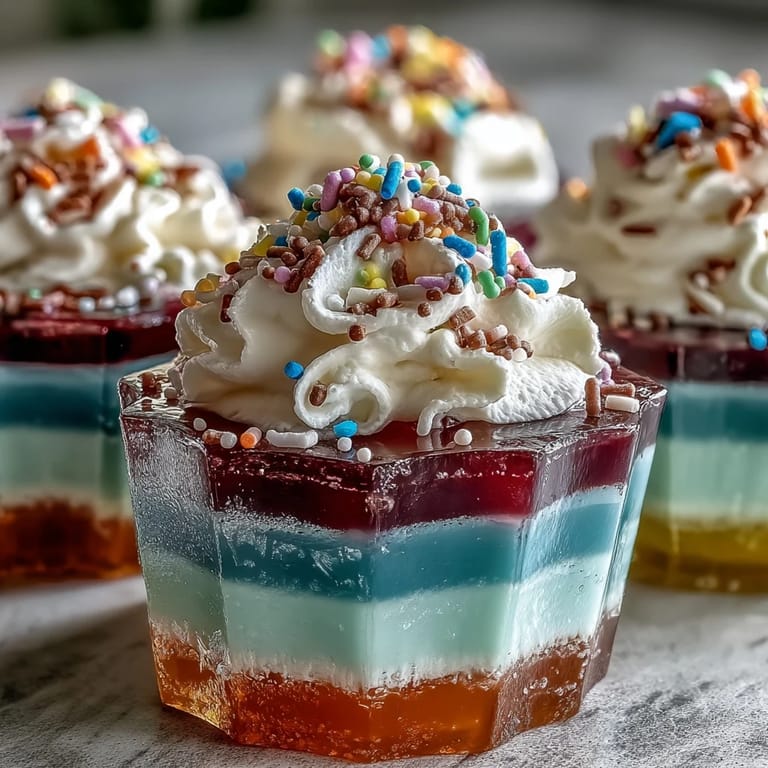
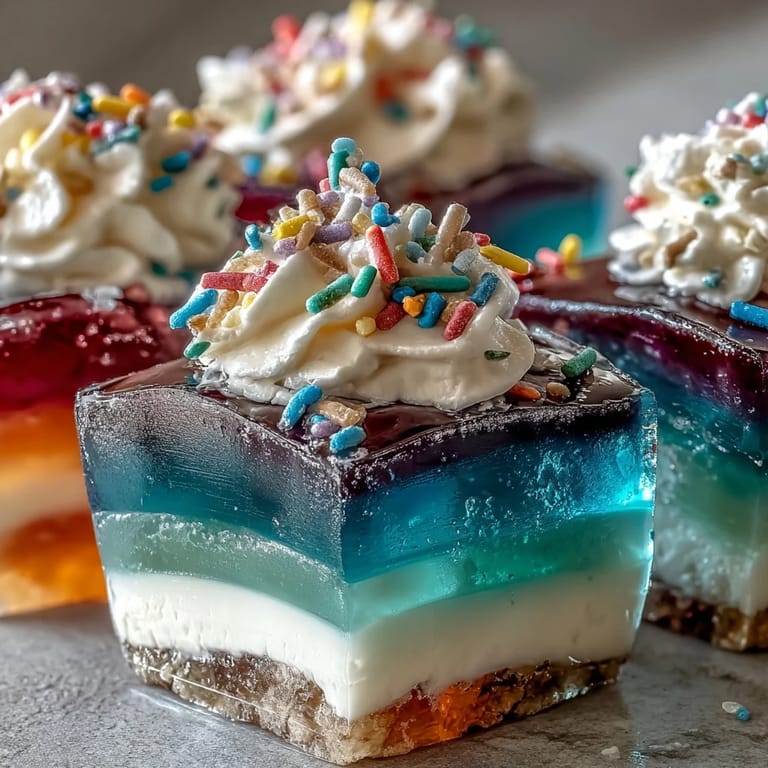
Save The first time a rainbow Jello cup caught my eye, it was at a bustling school party, the kind where laughter bounces off walls and curiosity hovers over every snack table. I remember being instantly drawn by the glimmering colors stacked in neat little layers, each shade promising some fruity adventure. In my kitchen, experimenting with these vibrant layers turned ordinary evenings into an edible art session—sometimes with kids peeking over the counter, eager for the next color. The gentle aroma of fruity Jello mingling with sugary whipped cream felt both comforting and surprisingly joyful. Even after sticky fingers and plenty of impatient checks on the fridge, the reveal of perfect stripes never gets old.
Mornings before a birthday, I'd find myself double-checking the fridge, hoping every layer had properly set as my child waited for his rainbow Jello cup. No matter how many times I made them, timing the layers led to funny chats about patience—usually outdone by giggles when leftover whipped cream found its way onto noses. These cups quickly became tradition for any celebration that needed a little extra color and fun.
Ingredients
- Purple (grape) Jello: This base layer sets the tone for your rainbow and is usually easiest to dissolve—always mix well until crystals disappear.
- Blue (berry blue) Jello: Brightens the middle tier and needs to cool a bit before pouring to avoid blending colors.
- Green (lime) Jello: Gives that fresh, tangy note; I’ve learned to use a spoon along the cup edge to gently layer.
- Yellow (lemon) Jello: Adds sunshine and a gentle acidity—ensure the layer is fully set so the next color doesn't bleed.
- Orange Jello: Pops, but can be overpowering, so stick to thin layers if you want balanced flavors.
- Red (strawberry) Jello: Finishes the rainbow, and always looks striking for photos; stir thoroughly for a clear, vibrant top.
- Boiling Water: Key for activating the Jello powder, but too hot or too cold can affect clarity.
- Cold Water: Balances the heat and lets the mixture cool so you can layer without melting the previous set.
- Whipped Cream or Whipped Topping: Makes the cups dessert-ready; pipe or spoon it just before serving for fresh peaks.
- Rainbow Sprinkles (optional): Kids adore these, and they add a playful crunch; sprinkle right before serving to prevent color bleed.
Tired of Takeout? 🥡
Get 10 meals you can make faster than delivery arrives. Seriously.
One email. No spam. Unsubscribe anytime.
Instructions
- Start Purple:
- In a mixing bowl, whisk together purple Jello powder and 1 cup boiling water, watching as steam and sweet scent fill the room, then add cold water. Pour about 2 tablespoons of this into each clear cup—stack them on a tray and refrigerate until the layer feels firm to the touch.
- Build Blue:
- Prepare the blue Jello the same way, letting it cool a bit before pouring gently over the set purple layer; listen for the soft plop as it settles into place and chill again.
- Layer Green:
- Whisk lime Jello with hot then cold water, and use a spoon to direct the pour, avoiding splashes on the cup sides; refrigerate for half an hour, resisting the urge to poke.
- Add Yellow:
- Make lemon Jello and check that the green layer is set—slide your finger along the rim to confirm before adding yellow, then pop back in the fridge.
- Add Orange:
- Mix orange Jello, enjoy the citrus aroma, and pour a thin layer over yellow; hold the cup steady, then chill before the final step.
- Finish Red and Top:
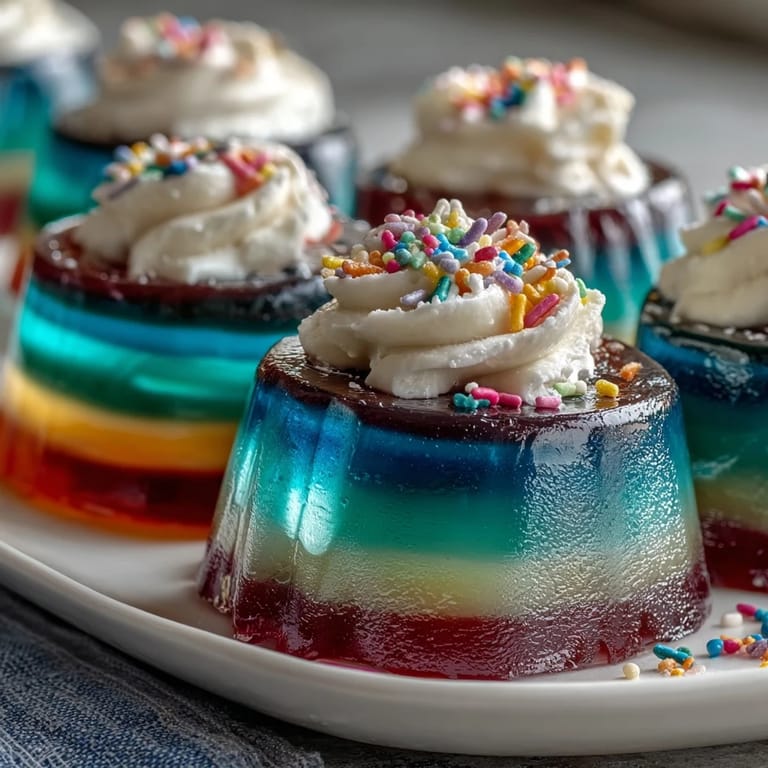
- Prepare strawberry Jello, then crown each cup with the red layer and refrigerate one last time. When ready, pipe or dollop whipped cream and shower with rainbow sprinkles, leaving vivid stripes shining underneath.
- Serve Chilled:
- Hand out these cups chilled, watch little hands reach eagerly, and enjoy the bright smiles they bring.
 Save
Save The first time we served rainbow Jello cups at summer camp, the dessert table was instantly surrounded; not just by kids, but counselors too, each quietly admitting they wanted one. Seeing everyone pause for a moment of joy reminded me how something as simple as Jello can bring together generations with color and flavor.
Let the Layers Shine
Layering isn't just for beauty—it gives every bite its own fruity burst. If you chill cups at an angle, you can create diagonal stripes for a whimsical twist.
Making It Allergy Friendly
Swapping for coconut whipped cream transforms these cups into a dairy-free delight, and sugar-free Jello helps lighten them up for different diets. Double-check ingredients, since even sprinkles can be sneaky with allergens.
Party Prep and Storage Hacks
Assembling cups ahead means less chaos on party day, but keep them covered so fridge smells won't sneak in. If you need to stack, use a tray to keep layers safe and upright.
- If you spill a layer, a napkin dab often fixes it before it sets.
- Label flavors if some kids dislike certain colors.
- Always allow at least 30 minutes per layer, even if it feels slow!
 Save
Save Whether you’re celebrating or simply brightening a rainy day, these rainbow Jello cups guarantee smiles and a bit of magic in every spoonful.
Recipe FAQs
- → How are the rainbow layers formed?
The layers are created by setting each Jello flavor individually, pouring and chilling before adding the next.
- → Can I use alternative toppings?
Coconut whipped cream or non-dairy alternatives work well for topping and suit dietary needs.
- → Is it possible to reduce sugar?
Choose sugar-free Jello for lighter cups without sacrificing taste or vibrant colors.
- → What tools are needed?
You'll need clear cups, mixing bowls, a whisk or spoon, measuring cups, and a refrigerator.
- → Can the dessert be prepared in advance?
Yes, make the cups ahead and refrigerate for several hours to ensure each colorful layer sets properly.
- → How can I make the treat allergen-friendly?
Opt for non-dairy toppings and check ingredient labels for artificial coloring sensitivities.