Save
Save My grandmother's kitchen always smelled like cinnamon and nutmeg by late September, weeks before anyone else was thinking about pie season. I'd watch her stir the pumpkin filling with this methodical calm, her wooden spoon barely making a sound as it moved through the silky custard. One year I asked why she started so early, and she smiled without looking up—something about letting the flavors settle in her memory first, before the rush of November arrived. That patience stuck with me, and now whenever I make this pie, I understand what she meant.
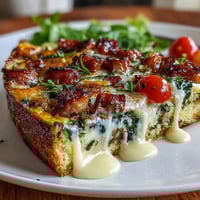
I once brought this pie to a potluck where someone had already made pumpkin cheesecake, and I almost turned around in the driveway. But the moment I cut into mine and that aroma hit the room, I watched people gravitate toward the slice with the buttery, flaky crust and that spiced custard that jiggled just slightly at the center. My confidence came back in that smell alone.
Ingredients
- Unbaked 9-inch pie crust: Whether you make this from scratch or grab one from the freezer case, this is your foundation—don't skip the chill time before filling, it keeps the crust flaky and prevents shrinking.
- Canned pumpkin purée (425 g / 15 oz): Pure pumpkin, nothing else—not pumpkin pie filling, which has sugar and spices already mixed in and will throw off your balance of flavors.
- Packed light brown sugar (150 g / 3/4 cup): Brown sugar brings a subtle molasses warmth that white sugar can't match, binding everything together with a gentle depth.
- Large eggs (2): These set the custard and give it structure, so room temperature eggs mix more evenly into the filling.
- Evaporated milk (240 ml / 1 cup): This concentrated milk creates that silky texture—regular milk would make the filling too loose and watery.
- Heavy cream (60 ml / 1/4 cup): Just enough richness to make each spoonful feel like a little luxury, lending a velvety mouthfeel that transforms the whole experience.
- Ground cinnamon (1 1/2 tsp): The backbone of pumpkin pie's identity, warming and comforting without overpowering.
- Ground ginger (1/2 tsp): Adds a subtle brightness and prevents the filling from feeling heavy or one-dimensional.
- Ground nutmeg (1/4 tsp): Use fresh-ground if you can—it brings a sophistication that pre-ground has already surrendered.
- Ground cloves (1/4 tsp): Just a whisper of this spice ties the whole blend together, grounding everything in that unmistakable autumn feeling.
- Salt (1/2 tsp): Never skip this—salt amplifies every other flavor and prevents the filling from tasting too sweet.
- Pure vanilla extract (1 tsp): Real vanilla, not imitation, makes a noticeable difference in how the spices sing together.
Tired of Takeout? 🥡
Get 10 meals you can make faster than delivery arrives. Seriously.
One email. No spam. Unsubscribe anytime.
Instructions
- Get your oven and crust ready:
- Preheat the oven to 220°C (425°F) and position the rack on the lower third—this ensures the crust browns evenly without the filling baking too slowly. Fit the pie crust into your 9-inch dish, crimp those edges with care, and slide it into the fridge while you move on; cold crust stays flaky and doesn't slump during baking.
- Build the filling:
- In a large bowl, whisk together the pumpkin purée, brown sugar, eggs, evaporated milk, heavy cream, and all those spices—cinnamon, ginger, nutmeg, cloves—along with the salt and vanilla. Whisk until the mixture is completely smooth; any lumps of pumpkin will bake into unpleasant surprises.
- Bring it together:
- Pour the silky filling into your chilled crust, taking a moment to admire how the custard catches the light.
- Bake at high heat, then lower:
- Bake at 220°C (425°F) for 15 minutes—you'll hear the crust crackling slightly as the butter melts and the filling starts to set. Then reduce the oven to 175°C (350°F) and bake for another 40 minutes until the center trembles just slightly when you gently shake the pie dish; the filling should be just set, not overdone.
- Cool with patience:
- Let the pie cool completely on a wire rack for at least 2 hours—this is when the custard truly sets. Rushing this step means a filling that falls apart when you slice it.
- Serve:
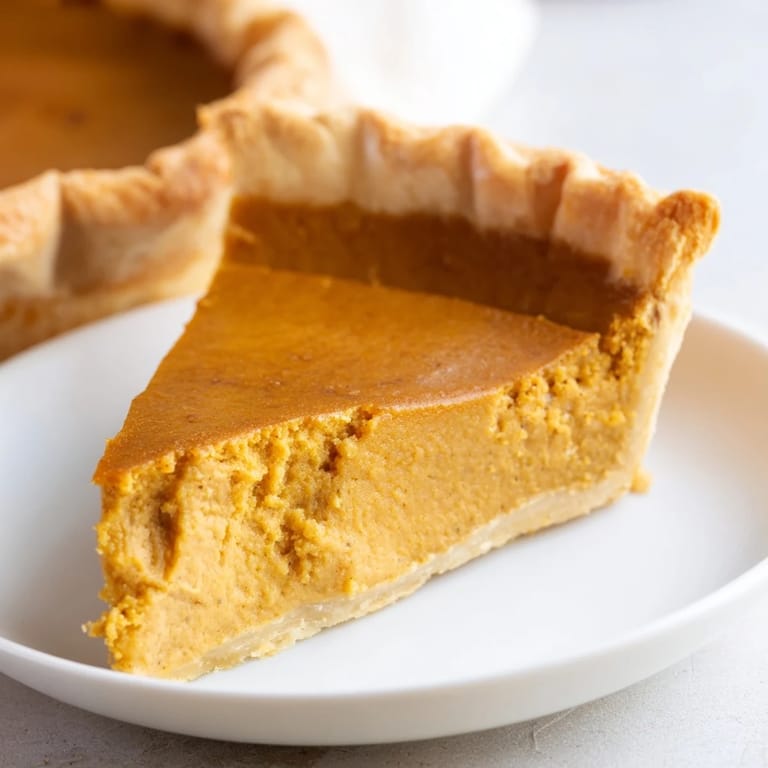
- Slice and serve plain or with a cloud of whipped cream, letting the pumpkin and spices be the star.
 Save
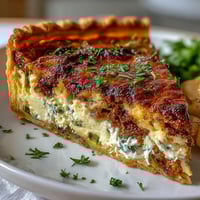
Save There's a moment when you pull this pie from the oven and the whole house fills with that spice-warmed air, and you suddenly understand why autumn feels like home to some people. That aroma alone is worth making this pie, regardless of what happens next.
The Spice Balance That Changed Everything
I used to make pumpkin pie with just cinnamon and nutmeg, and it was fine—safe, predictable, a little flat. Then my neighbor mentioned casually that cloves were her secret, and I tried it skeptically. Those few grains of ground cloves don't announce themselves loudly; instead they tie all the other spices together and make the whole filling taste like it has more dimension and mystery. Ginger adds brightness that prevents everything from turning muddy and heavy. Once you understand how these spices work as an ensemble rather than soloists, you realize that pumpkin pie isn't a simple flavor—it's a conversation.
Why Temperature and Timing Matter So Much
The two-temperature bake—hot first, then gentle—is the difference between a pie that looks impressive and one that actually tastes right. Starting at 425°F gives the crust a head start and sets the edges of the filling quickly so they don't become tough. Then dropping to 350°F lets the center bake through gently without scrambling around the edges, creating that ideal texture where the filling is set but still has that whisper of movement. I learned this the hard way by overbaking, which turned my beautiful pie into something dense that my guests politely chewed through.
Make-Ahead Magic and Storage
This pie is a gift to your future self—bake it a full day ahead and store it covered in the refrigerator, and the spices actually intensify and settle into something even more delicious. The crust stays crisp, the filling stays creamy, and you get to spend Thanksgiving or dinner day actually enjoying people instead of panicking about timing. You can also assemble the pie completely (crust plus filling) up to 4 hours before baking, which means less stress on the day itself.
- Wrap leftover pie loosely in plastic wrap and refrigerate for up to 4 days.
- If you want to freeze a slice, wrap it individually and it'll keep for up to a month.
- Reheat gently in a 175°C (350°F) oven for about 10 minutes to restore the crust's texture.
 Save
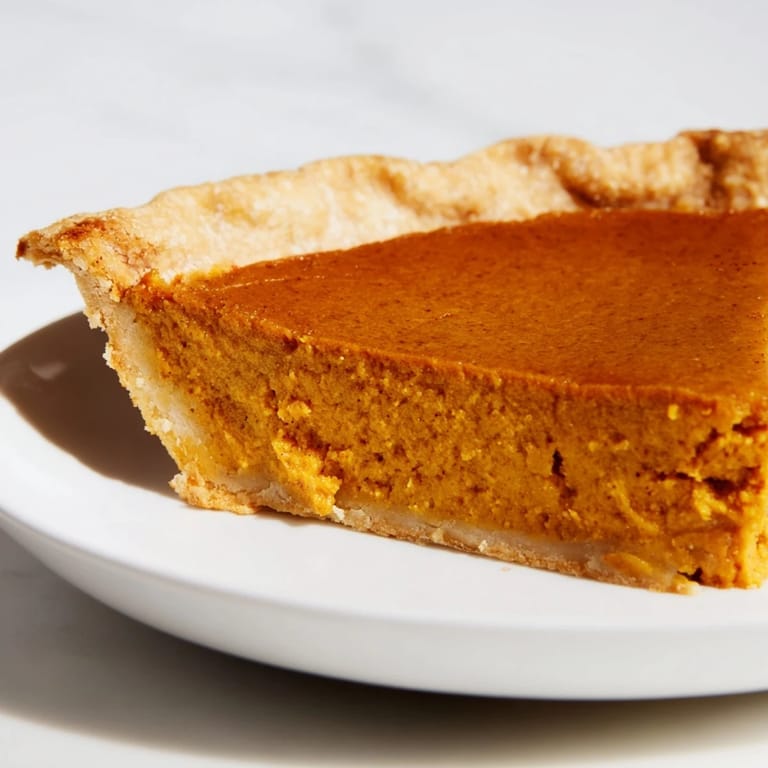
Save This pie carries the warmth of seasons and gatherings in every slice—it's the kind of dessert that makes people linger at the table a little longer. Make it with care, and it becomes more than just food; it becomes a reason to gather.
Recipe FAQs
- → What type of pumpkin should I use?
Use pure canned pumpkin purée rather than pre-spiced pumpkin filling to get the best texture and flavor balance.
- → How do I achieve a flaky crust?
Use cold butter or shortening and avoid overworking the dough to keep the pie crust tender and flaky.
- → Can I make this dessert dairy-free?
Yes, replace heavy cream with coconut cream and ensure your crust is dairy-free for a non-dairy version.
- → How do I prevent the crust from getting soggy?
Chill the crust before adding filling and bake the pie at a high initial temperature to help set the crust quickly.
- → What spices enhance the custard flavor?
A blend of cinnamon, ginger, nutmeg, and cloves gives a warm, aromatic character that complements the pumpkin perfectly.
- → Is it better to bake the pie in advance?
Yes, baking a day ahead allows flavors to meld and makes slicing easier after chilling completely.