 Save
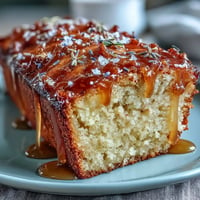
Save The kitchen smelled like cinnamon and butter the afternoon I decided to triple my usual cheesecake recipe and bake it in a tray instead of a springform tin. My cousin was hosting twenty people for Christmas tea, and I wanted something that could be sliced into neat squares without the fuss of portioning a round cake. As the batter pooled over the biscuit base, studded with jewel-toned dried fruits, I realized I'd stumbled onto something far better than my original plan. The slab baked evenly, cooled faster, and when I lifted it out by the parchment overhang, it looked like a festive masterpiece. That year, it became the dessert everyone asked for by name.
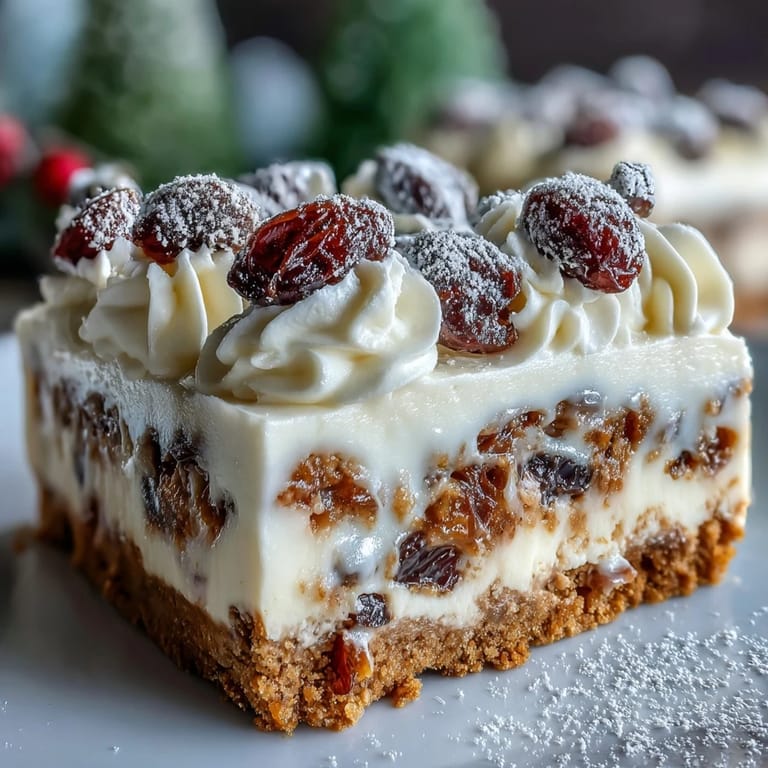
I brought this to a holiday potluck once, and someone asked if I'd bought it from a bakery. The compliment made me laugh, but it also reminded me how impressive a simple slab cheesecake can look when you dust it with icing sugar and add a cloud of whipped cream. My friend Sarah took a square, closed her eyes after the first bite, and said it tasted like her grandmother's Christmas pudding but lighter. That moment made all the whisking and waiting worth it.
Ingredients
- Digestive biscuits: Their mild sweetness and sturdy crumb create a base that holds up under the creamy filling without going soggy.
- Unsalted butter: Melted and mixed with the biscuit crumbs, it binds everything into a press-in crust that slices cleanly.
- Cream cheese: Use full-fat and bring it to room temperature so it beats smooth without lumps or air pockets.
- Granulated sugar: Just enough to sweeten the filling without overpowering the tangy cream cheese and sour cream.
- Sour cream: Adds a subtle tang and keeps the texture silky, preventing the cheesecake from feeling too dense.
- Large eggs: They set the filling as it bakes, giving you that perfect creamy slice that holds its shape.
- Vanilla extract: A couple of teaspoons deepen the flavor and balance the spices beautifully.
- Lemon zest: Brightens the filling and cuts through the richness, making each bite feel fresh.
- Mixed dried fruits: Cranberries, apricots, and cherries add chewy bursts of sweetness and festive color throughout.
- Mixed spice: Cinnamon, nutmeg, and ginger swirl through the batter, filling your kitchen with holiday warmth.
- Double cream: Whipped with a little icing sugar, it crowns each square with soft, pillowy sweetness.
- Icing sugar: A final dusting makes the whole tray look like it's been kissed by snow.
Tired of Takeout? 🥡
Get 10 meals you can make faster than delivery arrives. Seriously.
One email. No spam. Unsubscribe anytime.
Instructions
- Prep the Oven and Tray:
- Preheat your oven to 160°C (320°F) and line a 20 x 30 cm rectangular baking tray with parchment, leaving extra paper hanging over the sides. This overhang will be your best friend when it's time to lift the slab out.
- Make the Biscuit Base:
- Blitz the digestive biscuits in a food processor until they're fine crumbs, then stir in the melted butter until the mixture looks like damp sand. Press it firmly and evenly into the base of your tray, then pop it in the fridge while you make the filling.
- Beat the Cream Cheese:
- In a large bowl, beat the cream cheese with an electric mixer until it's completely smooth and fluffy. Gradually add the sugar, beating until it disappears into the cream cheese and the mixture feels light.
- Add the Wet Ingredients:
- Pour in the sour cream, crack in the eggs, then add the vanilla extract and lemon zest. Beat until the batter is smooth, glossy, and free of streaks.
- Fold in Fruits and Spice:
- Gently fold in the chopped dried fruits and mixed spice using a spatula, making sure they're evenly distributed. The batter should smell warm and festive now.
- Assemble and Bake:
- Pour the filling over the chilled biscuit base, smooth the top with a spatula, then tap the tray gently on the counter to release trapped air. Bake for 45 to 50 minutes, until the edges are set and the center has just a slight wobble.
- Cool Gradually:
- Turn off the oven and leave the cheesecake inside for an hour to cool slowly, which helps prevent cracks. Then remove it, let it cool to room temperature, and refrigerate for at least 4 hours or overnight.
- Whip the Cream and Serve:
- Before serving, whisk the double cream with 2 tablespoons of icing sugar until soft peaks form. Slice the cheesecake into squares, top each with whipped cream, and dust with extra icing sugar.
 Save
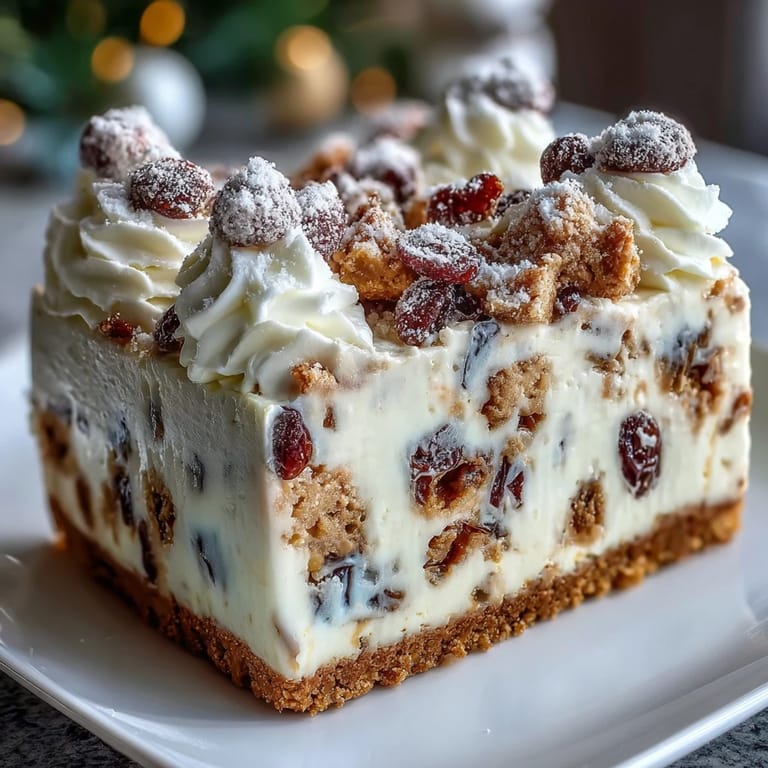
Save One December evening, I served this at a dinner party and watched as my friends passed the tray around, each person carefully choosing their square. Someone said it tasted like a hug in dessert form, and I realized that's exactly what I'd been trying to create. There's something about the way the spices mingle with the cream, the way the dried fruits surprise you in every bite, that feels like home and celebration all at once.
How to Store and Freeze
This cheesecake keeps beautifully in the fridge for up to five days, covered loosely with cling film or stored in an airtight container. If you want to freeze it, slice it into individual squares, wrap each one in parchment paper, then stack them in a freezer-safe container. They'll hold for up to a month, and you can thaw them in the fridge overnight whenever a craving strikes. I've found that freezing actually improves the texture slightly, making each bite even creamier.
Swaps and Variations
You can swap the dried fruits for fresh berries, candied peel, or even chopped crystallized ginger if you want a sharper kick. Some people skip the spices entirely and fold in chocolate chips for a richer, less seasonal version. I've also made this with a gingernut biscuit base instead of digestive, which gives the whole slab a deeper spice note. If you're avoiding gluten, use gluten-free biscuits and check your spice blend for hidden fillers.
Serving Suggestions
This cheesecake shines on a dessert table alongside mince pies, trifle, or a simple fruit salad. I like to serve it with a glass of sweet dessert wine, spiced tea, or even a shot of Irish cream liqueur for the adults. The whipped cream topping is optional, but it adds a lightness that balances the richness beautifully. For an extra festive touch, scatter a few pomegranate seeds or sugared cranberries over the top just before serving.
- Pair with spiced chai or mulled wine for a cozy finish to any meal.
- Serve cold straight from the fridge or let it sit at room temperature for ten minutes to soften slightly.
- Garnish with fresh mint leaves or a drizzle of warm caramel sauce if you're feeling fancy.
 Save
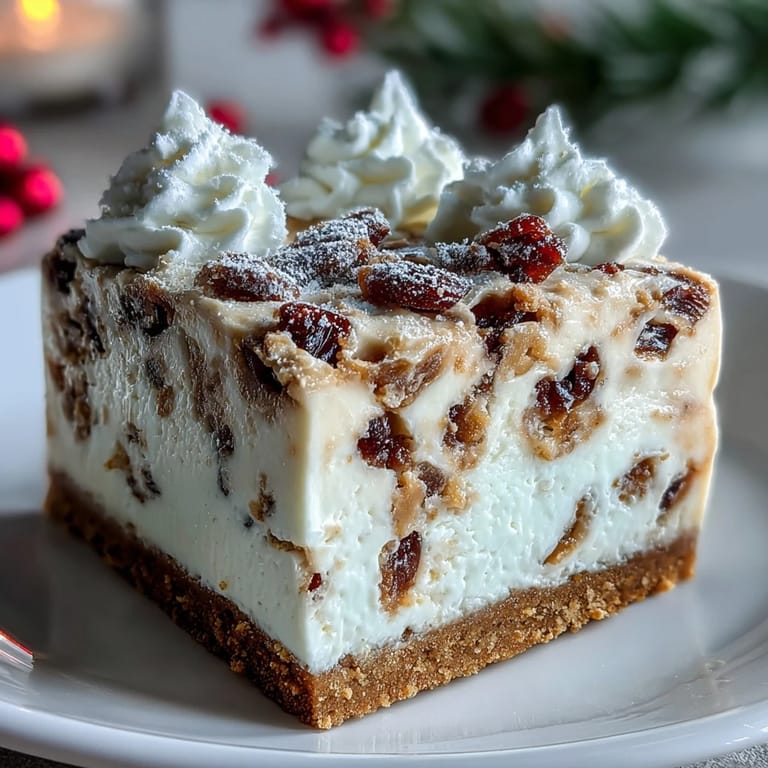
Save Every time I pull this cheesecake from the fridge and see those neat squares waiting to be topped and shared, I feel a little surge of pride. It's the kind of dessert that makes people lean in, ask for the recipe, and leave your table smiling.
Recipe FAQs
- → How long should I chill the cheesecake before serving?
Refrigerate for at least 4 hours, though overnight is preferable for the firmest texture. This allows the filling to set completely and the flavors to develop fully.
- → Can I substitute the dried fruits?
Absolutely. Fresh berries work beautifully in summer, while candied peel adds extra festive flair. Just maintain the total weight of 120g for proper consistency.
- → Why does my cheesecake crack on top?
Overbaking or rapid temperature changes cause cracking. Bake until just slightly wobbly at the center, and let it cool gradually inside the oven with the door ajar.
- → How do I know when it's done baking?
The edges should appear set while the center retains a gentle wobble—similar to jelly. It will continue firming as it cools. A toothpick inserted near the edge should come out clean.
- → Can I freeze this cheesecake?
Yes. Wrap individual squares tightly in parchment paper and freeze for up to one month. Thaw overnight in the refrigerator before serving, then add fresh whipped cream topping.
- → What size pan should I use?
A 20 x 30 cm (8 x 12 inch) rectangular baking tray works perfectly. The slab format yields 12–16 generous squares, ideal for sharing at gatherings.