 Save
Save My grandmother kept a ceramic dish in her china cabinet that only came out for special occasions, and it always held banana pudding. Years later, I realized she wasn't guarding a complicated recipe—she was protecting a moment. That first time I made it myself, standing in my kitchen with bananas turning the perfect shade of yellow and pudding cooling on the counter, something clicked: this dessert is less about technique and more about the comfort of layers, each one revealing something familiar and beloved.
I made this for a dinner party once when I was trying too hard to impress, and someone asked for thirds. That's when I understood: people don't want fancy—they want the pudding their mom made, or the one they wish she had. Watching someone close their eyes on that first spoonful and just savor it, no words needed, that's the whole point.
Ingredients
- Granulated sugar (3/4 cup): This sweetens the custard base without any grittiness, and the amount is forgiving enough that slight variations won't throw off your pudding.
- Cornstarch (1/4 cup): This is your thickener and the secret to silky pudding instead of a thin sauce—don't skip it or substitute with flour, which will give you a different texture.
- Salt (1/4 tsp): A pinch that makes everything taste more like itself, especially the vanilla and the bananas.
- Whole milk (3 cups): Use full-fat milk; it's what gives the pudding that luxurious mouthfeel that makes people ask for your recipe.
- Egg yolks (4 large): These enrich the pudding and keep it custard-like, but tempering them carefully keeps them from scrambling—take your time with this step.
- Unsalted butter (2 tbsp): The butter adds depth and a silky finish; it's worth using real butter here, not a substitute.
- Vanilla extract (2 tsp): Use real vanilla if you have it; this dish is simple enough that quality ingredients shine through.
- Vanilla wafers (one 340 g box): These soften just enough in the pudding to feel homemade, but don't break them up—leave them whole so each layer stays distinct.
- Ripe bananas (4 medium): Slice them right before assembling so they don't brown and stay bright; bananas that are just turning golden work best—too green and they're mealy, too ripe and they disappear into the pudding.
- Heavy cream (1 cup): Whip this for topping to add a cloud of richness on top.
- Powdered sugar (2 tbsp): Just enough to sweeten the cream without making it grainy.
- Vanilla extract for topping (1/2 tsp): A whisper of vanilla in the whipped cream ties everything together.
Tired of Takeout? 🥡
Get 10 meals you can make faster than delivery arrives. Seriously.
One email. No spam. Unsubscribe anytime.
Instructions
- Mix the dry ingredients into milk:
- Whisk sugar, cornstarch, and salt together in your saucepan, then slowly pour in the milk while whisking so no lumps form. It should look smooth and light, not lumpy or thick yet.
- Heat until it starts to thicken:
- Set it over medium heat and stir constantly—don't walk away. After about 6 to 8 minutes, you'll feel the whisk catch slightly as the mixture thickens, and you'll see small bubbles at the edge.
- Temper the egg yolks:
- Beat your yolks gently in a bowl, then slowly pour about half a cup of that hot milk mixture into them while whisking constantly. This brings the yolks up to temperature without scrambling them.
- Return yolks to the pan:
- Pour the yolk mixture back into the saucepan with the remaining hot pudding, whisking all the while. Keep stirring for 2 to 3 more minutes until it's thick and smooth, then remove from heat.
- Finish with butter and vanilla:
- Stir in the butter and vanilla while the pudding is still warm so everything melts together smoothly. Let it cool slightly before transferring to a bowl.
- Cool and chill the pudding:
- Press plastic wrap right onto the surface of the pudding so a skin doesn't form, then let it sit at room temperature for a bit before chilling for at least an hour. Cold pudding layers better and holds its shape.
- Build your layers:
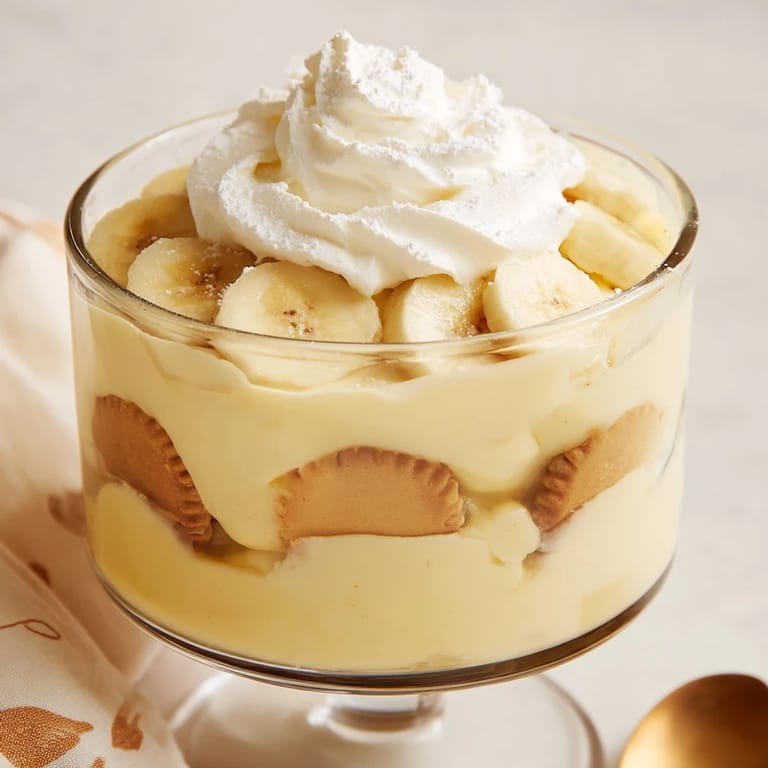
- In your serving dish, lay down a third of the wafers, then a third of the banana slices, then a third of the pudding. Repeat twice, ending with pudding on top so it's smooth and creamy-looking.
- Let it rest:
- Cover and refrigerate for at least 2 hours—this gives the wafers time to soften into the pudding just enough, and the flavors meld into something greater than their parts.
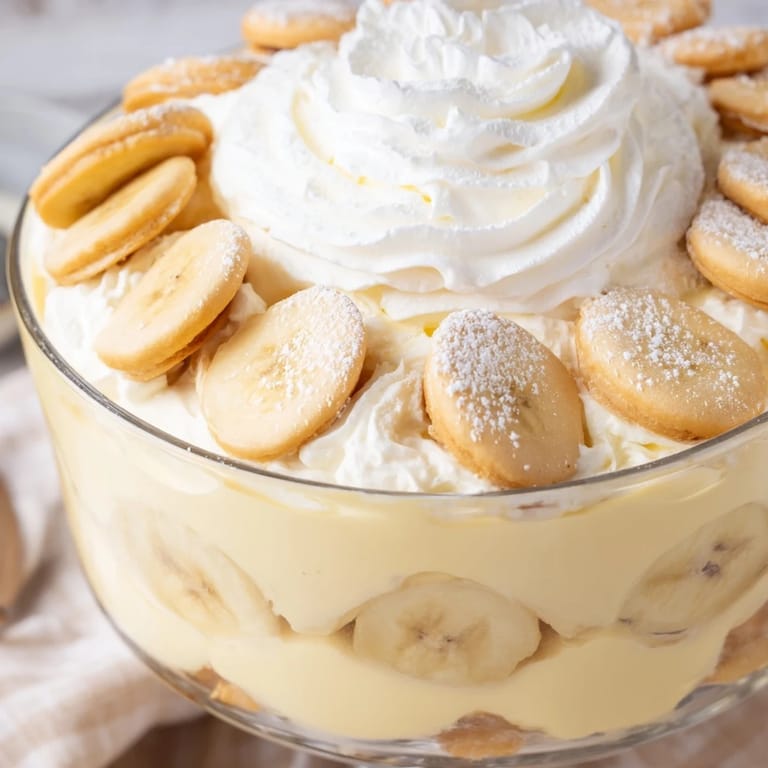
- Top with whipped cream:
- Just before serving, whip your cold cream with powdered sugar and vanilla until soft peaks form—don't overbeat or you'll have butter. Spread it on top or pipe it for a little flourish.
 Save
Save I once brought this to a church potluck and found the bowl completely empty by the time I left—no note, no trace. That's the magic of banana pudding: it's so familiar and warm that people don't question it, they just enjoy it, and somehow that feels like the greatest compliment a dessert can receive.
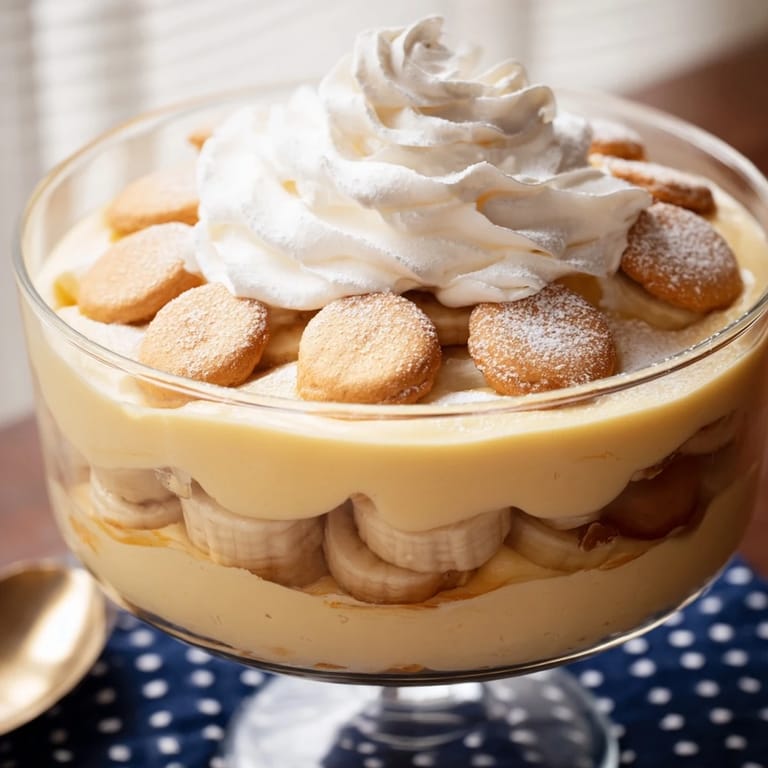
Why Wafers Matter More Than You Think
Those vanilla wafers aren't just a crunchy layer—they're a textural anchor that keeps the pudding from feeling too soft and custardy. When they soften slightly from the cold pudding around them, they become almost cake-like, and that transition from crisp to tender as you eat it is part of what makes banana pudding feel indulgent. I learned this by accident once when I substituted graham crackers out of desperation, and the whole dish felt wrong—not bad, just missing something essential.
The Timing of Ripeness
Banana timing is everything in this dessert, and it taught me to pay attention to my fruit in a way I never had before. A banana at its peak—golden with just a few small brown speckles—gives you natural sweetness and a texture that doesn't turn grainy or disappear into the pudding like an overripe one would. I keep a bunch at different stages on my counter now, which sounds fussy, but it means I'm never forced to use a banana that isn't quite right for what I'm making.
Make-Ahead Magic and Storage
One of the best things about this dessert is that it actually improves when made a few hours ahead—the flavors deepen and the whole thing sets up into something more cohesive. I've learned to build it in the morning and finish with whipped cream right before dinner, which takes the pressure off. Just keep it covered and remember that it's best within 24 hours, as the wafers eventually soften too much and things get a bit soupy.
- Refrigerate covered for up to 24 hours before serving for the best texture and flavor.
- Add the whipped cream topping no more than a couple hours before serving so it stays fluffy and doesn't weep.
- If you want to make it dairy-free, use coconut milk for the pudding and coconut whipped cream on top.
 Save
Save Banana pudding is the kind of dessert that doesn't need defending or explaining—it just sits there being exactly what it is, beloved and timeless. Make it for people you care about, and watch how it becomes part of your story together.
Recipe FAQs
- → How do I achieve a smooth pudding consistency?
Whisk sugar, cornstarch, and salt before slowly integrating milk to avoid lumps. Stir constantly over medium heat until thickened for a creamy base.
- → Can I use ripeness levels other than fully ripe bananas?
Ripe bananas provide optimal softness and sweetness, enhancing the dessert's flavor and texture.
- → What is the best way to layer the ingredients?
Alternate layers of pudding, sliced bananas, and vanilla wafers evenly to ensure balanced texture and flavor in each bite.
- → How long should the dessert chill for best results?
Chilling for at least two hours allows flavors to meld and the pudding to set properly for a clean slice.
- → Can I replace heavy cream with a lighter topping?
Yes, whipped light cream or dairy alternatives can be used for a lighter finish without sacrificing texture.
- → Are there common allergens to be aware of?
This dessert contains dairy, eggs, and wheat from the wafers. Check ingredient labels carefully if allergies are a concern.