 Save
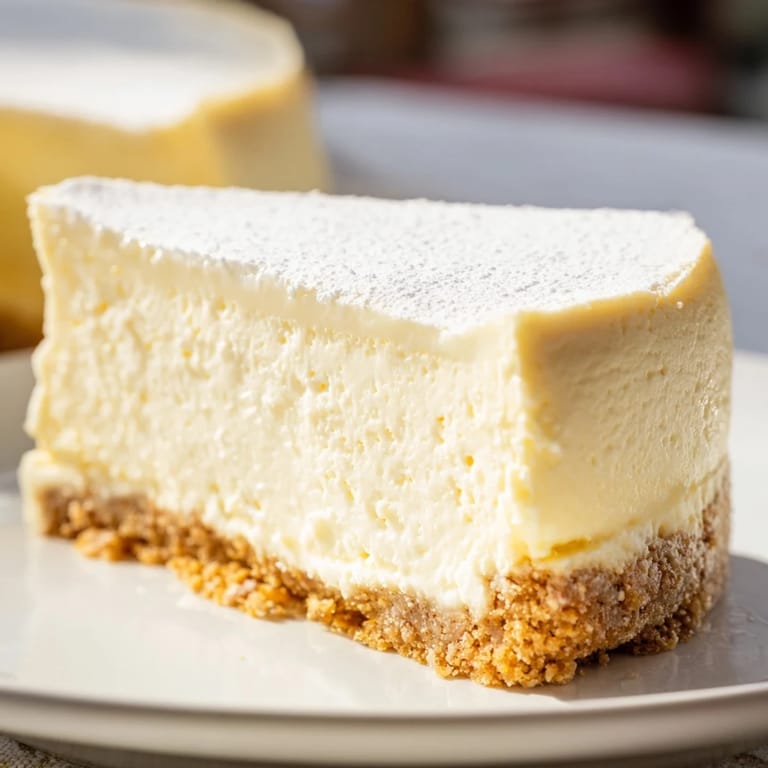
Save The first time I made a proper New York cheesecake, I was terrified of cracking. My grandmother had mentioned it so many times—that splitting top, that sign of failure—that I spent the entire bake holding my breath in front of the oven window like it might help. What I didn't know then was that the jiggle in the center, that barely-set wobble at 60 minutes, was exactly what I should be looking for. It took me three attempts and a water bath to understand that cheesecake isn't about perfection on top; it's about that creamy, dense, almost-too-rich filling that melts on your tongue.
I made this for my friend's birthday dinner last spring, and watching everyone go quiet after that first forkful was worth every minute of waiting. Someone asked if it was store-bought, and I'll admit I felt a little smug telling them I'd made it from scratch. That night, cheesecake transformed from dessert into proof that I could do something that felt impossible.
Ingredients
- Graham cracker crumbs: Use full-fat butter here—it's the only thing holding the crust together, and skimping makes it fall apart on the fork.
- Unsalted butter: Melted and warm when you mix it in, so the crumbs toast slightly and bind better than they would with cold butter.
- Full-fat cream cheese: Room temperature is non-negotiable; cold cream cheese refuses to blend smoothly and leaves lumps that won't disappear.
- Granulated sugar: Beat it into the cream cheese thoroughly—this step is where you're aerating the filling slightly, giving it that cloud-like texture.
- Sour cream: Adds tang and moisture without making the filling loose; room temperature means it blends without shocking the filling into graininess.
- Eggs: Room temperature and added one at a time, slowly. Each egg needs a moment to integrate before the next arrives, or you'll overmix and trap too much air.
- Cornstarch: This tiny amount prevents the filling from cracking—it absorbs moisture and keeps the filling stable through the temperature swings of baking and cooling.
- Vanilla extract and lemon juice: Vanilla rounds out the sweetness; lemon juice brightens everything and keeps the filling from tasting one-dimensional.
Tired of Takeout? 🥡
Get 10 meals you can make faster than delivery arrives. Seriously.
One email. No spam. Unsubscribe anytime.
Instructions
- Make the crust:
- Mix graham cracker crumbs with warm melted butter, sugar, and salt until it looks like wet sand. You should be able to squeeze a handful and have it hold its shape. Press it firmly and evenly into the bottom of your springform pan, then bake at 160°C for 10 minutes to set the structure slightly.
- Prepare the filling:
- Beat room-temperature cream cheese on medium speed until it's completely smooth and pale, about two minutes. This matters more than you'd think—lumps never fully disappear later. Add sugar gradually and keep beating until the mixture feels light and fluffy.
- Add wet ingredients carefully:
- Mix in sour cream, vanilla, lemon juice, cornstarch, and salt on low speed just until combined. You're looking for homogeneity, not air incorporation. Scrape down the bowl between each step to make sure you're not leaving unmixed pockets.
- Incorporate eggs without overmixing:
- Add eggs one at a time on low speed, scraping the bowl after each addition and waiting a moment for it to fully incorporate before the next egg arrives. This is where patience genuinely changes the outcome.
- Set up the water bath:
- Pour the filling over the cooled crust and smooth the top gently. Place the springform pan inside a larger roasting pan, then pour hot water into the roasting pan until it comes halfway up the sides of the cheesecake pan. The water acts as a buffer, keeping the heat from climbing too fast and the filling from cracking.
- Bake with intention:
- Bake at 160°C for 55 to 65 minutes, watching for that slight jiggle in the very center when you gently shake the pan. The edges should look set and barely pull away from the sides; the center should wobble like barely-set Jello. This is done.
- Cool slowly in the oven:
- Turn off the oven, crack the door open about 2 inches, and leave the cheesecake inside for a full hour. This gentle temperature drop prevents the dreaded thermal shock crack.
- Chill and serve:
- Remove from the oven and run a thin knife around the inside edge of the pan to help the filling release evenly as it cools further. Let it reach room temperature, then refrigerate for at least six hours or, better yet, overnight. Slice with a hot, clean knife dipped in hot water between each cut.
 Save
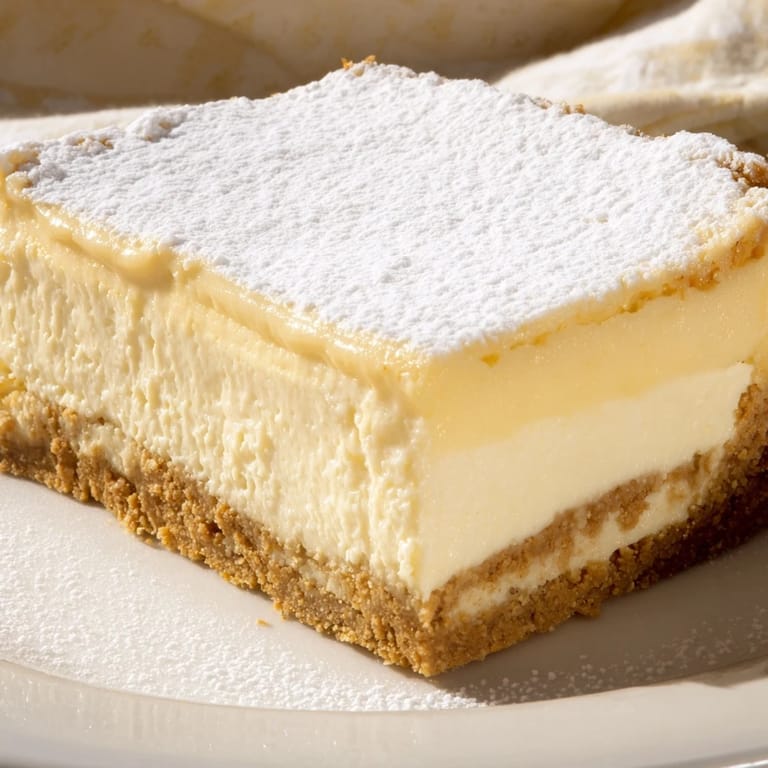
Save The moment I sliced into my first successful cheesecake and saw that pristine surface, that clean cut without a single crack, I realized I'd learned something beyond just following steps. I'd learned how to listen to what the recipe was telling me, to trust the wobble, to respect the cooling process.
The Water Bath Secret
The water bath is the one technique that separates a cracked, overcooked cheesecake from one that's silky and perfect. I resisted it for years, thinking it was fussy, until I actually tried it and suddenly everything changed. The water acts as a heat insulator, distributing warmth gently and evenly so the filling cooks through without the edges drying out and the center splitting from stress. It's not extra work; it's the work that matters.
Variations and Twists
Once you've made this classic version and felt confident in the method, the filling begs to be explored. A swirl of melted chocolate pushed through with a knife before baking creates a marble effect that looks restaurant-quality and tastes indulgent. Fresh berries on top, a drizzle of berry compote, or even a brown butter sour cream topping all work beautifully because they don't interfere with the integrity of the bake itself. The crust can shift too—try crushing digestive biscuits or even gingersnaps for a different flavor note that still supports the creamy filling.
Serving and Storing
Cheesecake tastes even better the next day, once the flavors have settled and unified. Serve it cold, straight from the refrigerator, with something bright alongside—strong black coffee, a late harvest Riesling, or even a glass of cold milk. It keeps well in the fridge for up to five days wrapped loosely, though it never lasts that long in my house.
- A hot knife dipped in water between slices keeps the edges clean and the presentation pristine.
- If you're serving a crowd, slice it before the party and arrange on a platter—it's less stressful than slicing tableside.
- Leftovers are actually better than fresh, so don't hesitate to make this a day or two ahead.
 Save
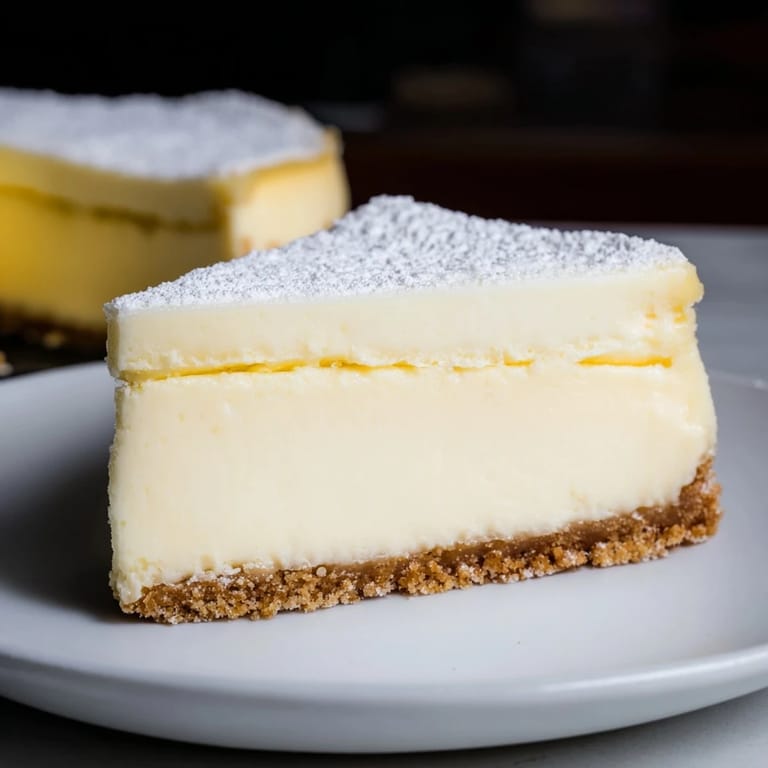
Save Making cheesecake teaches patience in a way few desserts do. It asks you to slow down, trust the process, and wait for the reward.
Recipe FAQs
- → What makes New York cheesecake different?
Its dense, creamy texture comes from a rich cream cheese filling combined with sour cream and baked in a water bath to ensure smoothness.
- → How do I prevent cracks on the surface?
Baking in a water bath and cooling gradually helps maintain a smooth surface and prevents cracking.
- → Can I prepare the crust ahead of time?
Yes, baking the graham cracker crust in advance allows it to set firmly before adding the filling.
- → What is the best way to slice this dessert?
Use a hot, clean knife to cut neat slices, wiping the blade between cuts for clean edges.
- → Are there common variations to enhance flavor?
Swirling melted chocolate into the filling or topping with fresh berries or fruit compote adds unique twists.
- → How long should it chill before serving?
Chilling for at least six hours or overnight ensures the filling sets firm and flavors meld well.